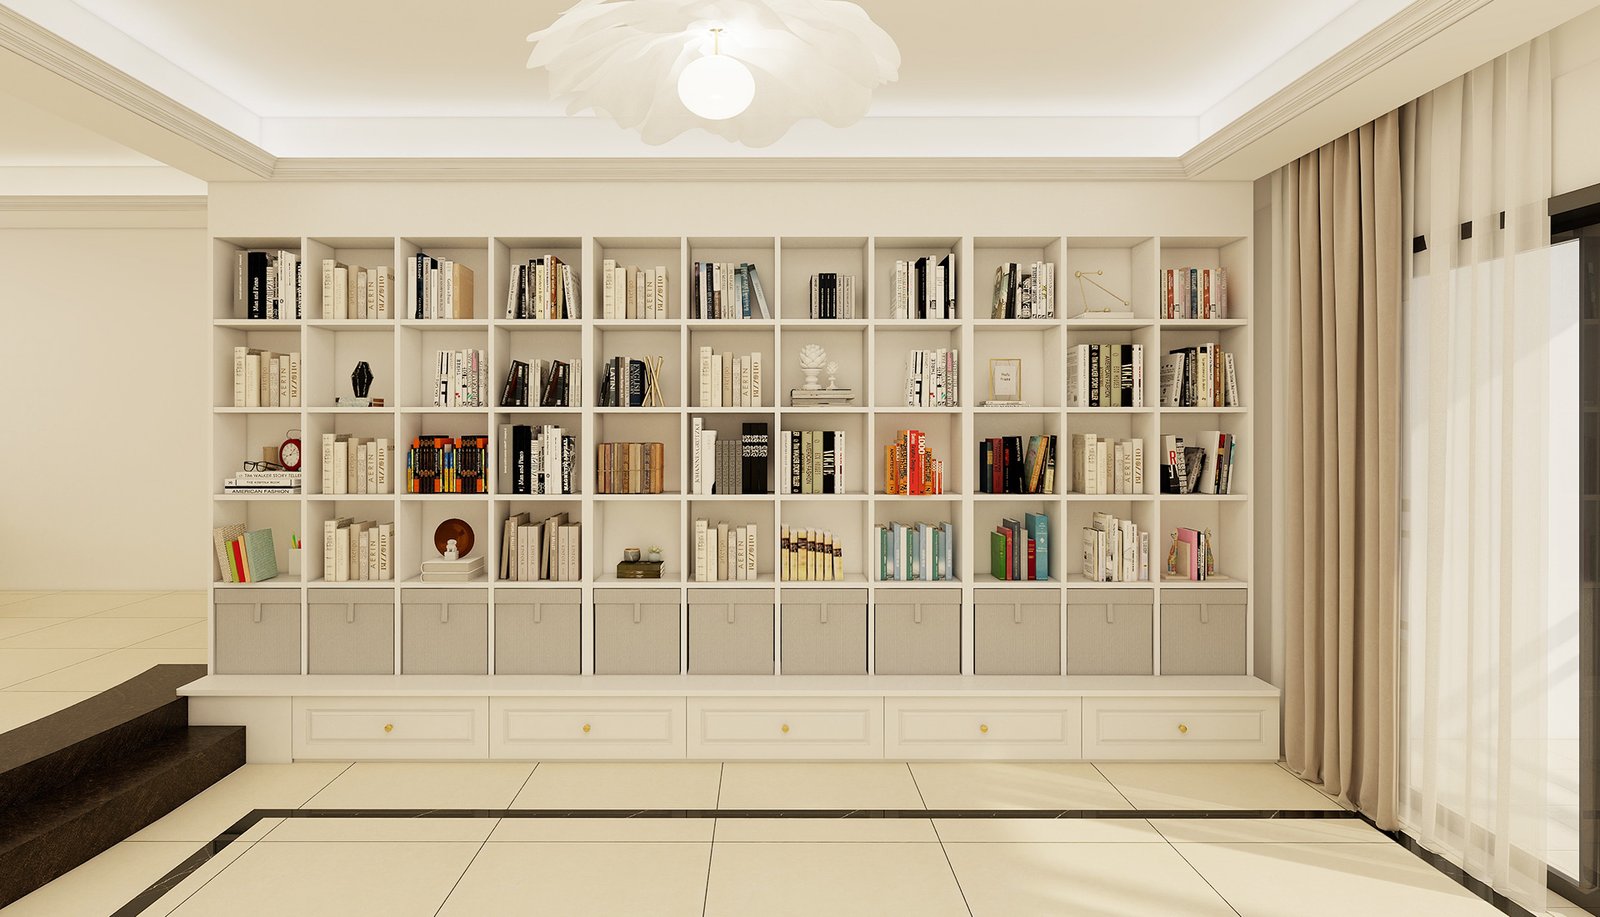
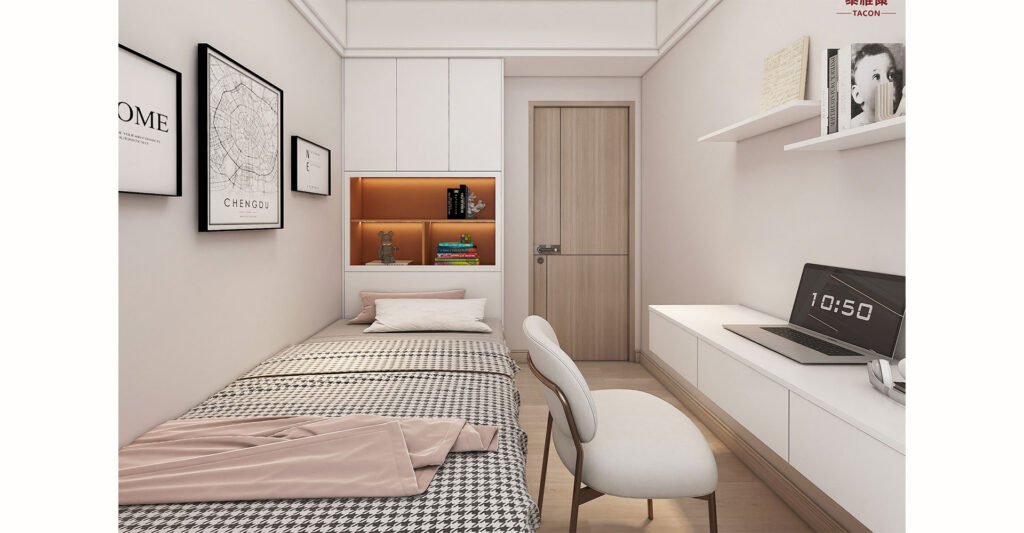
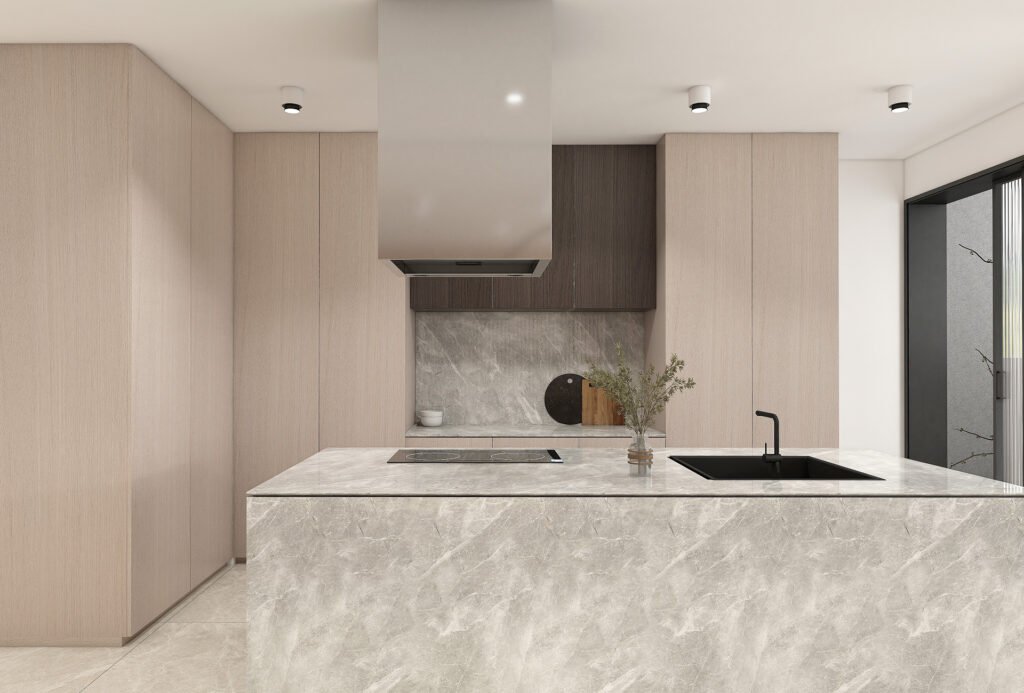
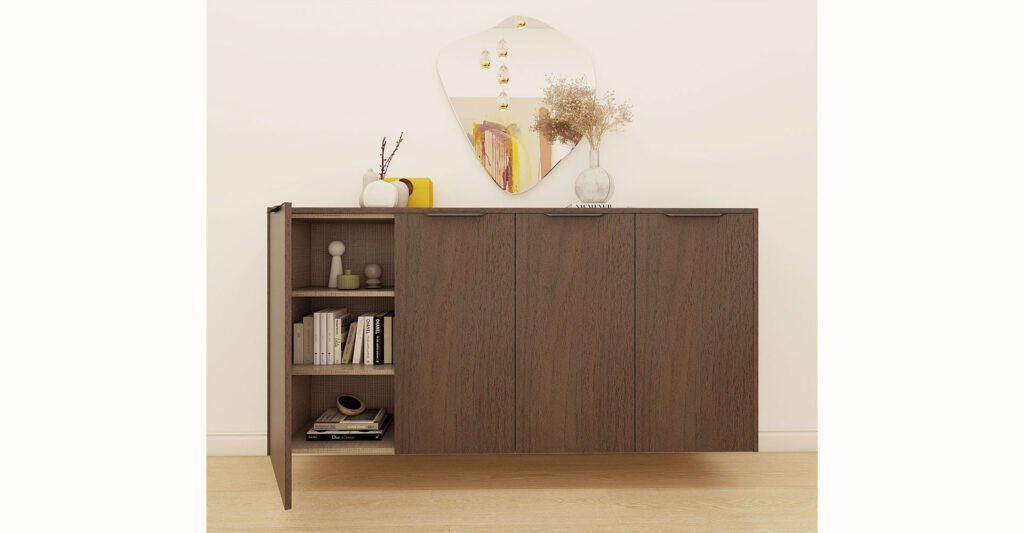
Particle board is a cost-effective and versatile material used in furniture, cabinetry, and construction. However, due to its compressed wood composition, cutting and drilling particle board requires proper techniques to prevent chipping, splitting, or crumbling. This guide provides step-by-step instructions for achieving clean and precise cuts and holes in particle board.
1. Tools and Materials Needed
Before starting, gather the necessary tools and materials:
For Cutting:
- Circular saw, table saw, or jigsaw
- Fine-tooth carbide-tipped blade (preferably 60–80 teeth)
- Clamps
- Measuring tape and pencil
- Masking tape
- Sandpaper (150–220 grit)
For Drilling:
- Power drill or hand drill
- Brad-point or carbide-tipped drill bits
- Clamps
- Masking tape
- Wood glue (optional for reinforcing edges)
2. How to Cut Particle Board Without Chipping
Since particle board is prone to chipping, follow these steps for smooth and precise cuts.
Step 1: Measure and Mark the Cut Line
- Use a measuring tape and pencil to mark the exact cutting line.
- Apply masking tape along the line to reduce splintering.
- Draw the line again on top of the tape for visibility.
Step 2: Choose the Right Saw Blade
- Use a fine-tooth carbide-tipped blade with at least 60–80 teeth for a circular saw or table saw.
- If using a jigsaw, choose a reverse-tooth blade to minimize chipping.
Step 3: Secure the Particle Board
- Clamp the board to a stable work surface to prevent movement.
- If possible, support both sides of the cut to reduce pressure on the edges.
Step 4: Cut Slowly and Evenly
- Use a steady hand and cut with the finished side facing down when using a circular saw.
- If using a table saw, keep the finished side facing up to minimize chipping.
- Cut slowly to prevent rough edges and overheating of the blade.
Step 5: Smooth the Edges
- Use fine-grit sandpaper (150–220 grit) to smooth any rough edges.
- For additional protection, apply edge banding or laminate strips to prevent moisture absorption.
3. How to Drill Particle Board Without Splitting
Drilling into particle board can cause it to split or weaken. Follow these techniques to get clean holes without damage.
Step 1: Select the Right Drill Bit
- Use a brad-point drill bit for clean holes with minimal chipping.
- A carbide-tipped bit is recommended for durability and precision.
Step 2: Apply Masking Tape
- Place masking tape over the drilling spot to prevent the surface from cracking.
- Mark the drilling point clearly on the tape.
Step 3: Drill at a Slow Speed
- Start drilling at a low speed to avoid sudden pressure on the board.
- Hold the drill steady and apply gentle, even pressure.
Step 4: Use a Backing Board
- Place a scrap piece of wood underneath the particle board to prevent tear-out when the drill bit exits.
Step 5: Reinforce Screw Holes (Optional)
- If installing screws, reinforce the holes with wood glue or a plastic anchor to prevent the screws from loosening over time.
- Use larger screws or dowels for better grip in high-stress areas.
4. Additional Tips for Cutting and Drilling Particle Board
- Avoid excess moisture: Particle board absorbs water easily, so use a sealant or edge banding for extra protection.
- Use sharp tools: Dull blades and drill bits increase chipping and rough edges.
- Work in a dust-free environment: Particle board produces fine dust when cut or drilled, so wear a mask and work in a well-ventilated area.
- Practice on scrap pieces first: If you’re unsure, test your cutting or drilling technique on a leftover piece of particle board.
Conclusion
By using the right tools and techniques, you can cut and drill particle board with precision while minimizing chipping and damage. Whether you’re working on furniture, shelving, or cabinetry, these steps will help you achieve professional results.
Get High-Quality Particle Board from Tacon Wood Industry
Looking for durable and cost-effective particle board? Tacon Wood Industry provides high-quality particle board for furniture, construction, and interior applications. Contact us at taconsales86@gmail.com for inquiries and product details!

